Open the Staff page
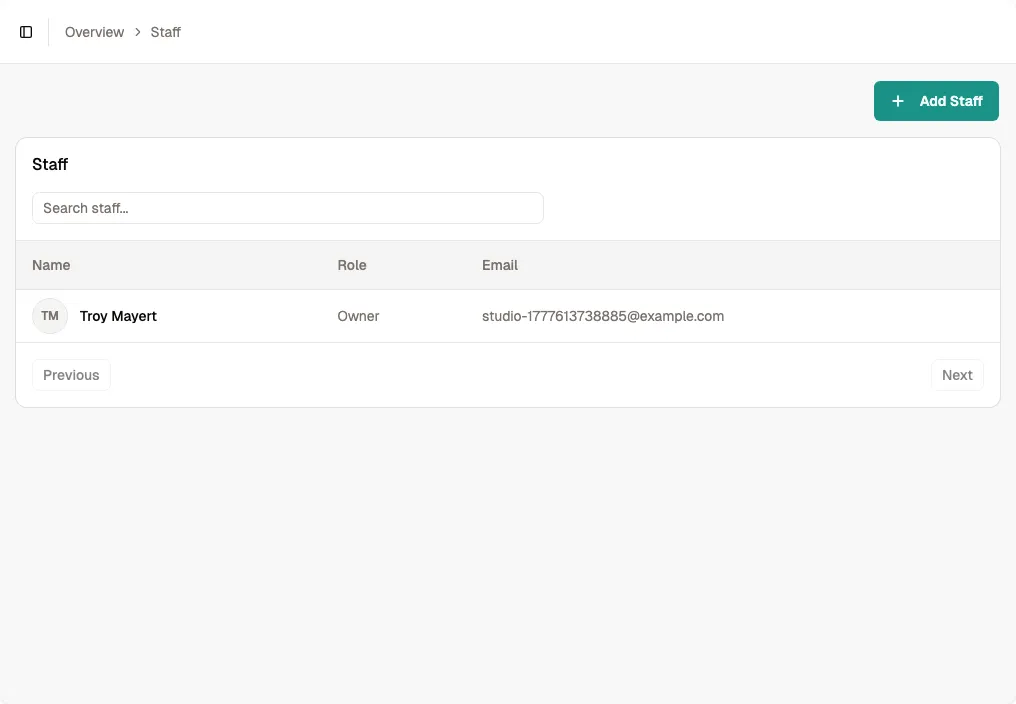
From your admin dashboard, click Staff in the main sidebar. You will see a table listing every staff member with their avatar, name, role, and email address.
If your studio is new, this list may only show yourself. Click any row to view a staff member's full profile and schedule.
Add a new staff member
Click Add Staff in the top-right corner. Enter the person's first name, last name, display name, email address, and a temporary password.
The display name is what customers see on the booking portal and in class listings. Use a professional name such as "Coach Maya" or "Tom R." rather than a legal full name.
Tip Set a strong temporary password and ask the staff member to change it after their first login.
Choose a role
Select Admin or Staff from the Role dropdown. Admins can create and edit classes, manage customers, add locations and resources, and handle orders. Staff members can view schedules and mark attendance but cannot create or delete classes, locations, or resources.
The Owner role is assigned automatically to the person who created the account. Owners have full access to billing and account settings. The staff list only shows Admin and Staff roles because the owner is managed separately.
Add an optional description
Use the Description field to add a short bio or specialization notes. This text may appear on the customer booking portal when customers view instructor profiles.
Descriptions support rich formatting, so you can add links, bold text, or bullet points for certifications and teaching styles.
Upload a staff avatar
After creating a staff member, open their detail page and upload an avatar photo. The avatar appears in the staff table and on the customer-facing instructor profile.
Use a clear headshot with good lighting. A professional photo helps customers recognize instructors and builds trust on the booking portal.
View and edit staff details
Click any staff member in the table to open their detail page. Here you can see their upcoming and past schedules, statistics, and personal information.
Click Edit to update their profile information such as gender, date of birth, and phone number. You can also change their role here, though the role field may be disabled for the account owner.