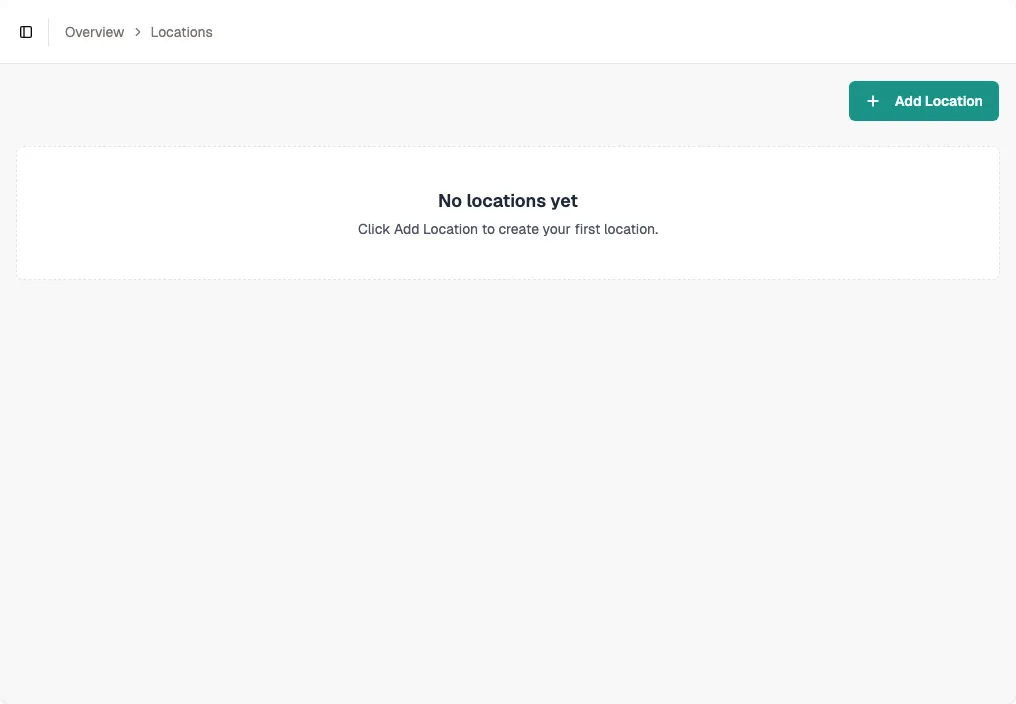
Open the Locations page
From your admin dashboard, click Locations in the main sidebar. You will see a grid of cards showing every studio address you operate.
Each card displays the location name, address, and a cover photo if one has been uploaded. Click any card to view its details.
Add a new location
Click Add Location in the top-right corner. Enter a name for the studio. The address field is optional but recommended.
After saving, the new location appears in your grid. You can edit the name and address later, or delete a location if it was created by mistake.
Tip Use a name customers will recognize, such as "Downtown Studio" or "Main Branch", rather than an internal code.
Upload a location cover photo
Open a location detail page and click the camera icon in the top-right corner of the header. Select a high-quality image of the studio interior or exterior.
The cover photo appears at the top of the location card in the admin grid and helps staff quickly identify the right venue.
Add resources to a location
Inside a location detail page, switch to the Resources tab. Click Add Resource and enter a name and an optional remark. Resources represent the rooms or equipment spaces where sessions take place.
Examples of good resource names: "Studio A", "Reformer Room", "Private Suite 1", or "Hot Yoga Chamber". The remark field is useful for internal notes like "Max 12 mats" or "No shoes allowed".
Tip Keep resource names short and customer-friendly. They appear in dropdown menus when staff schedule classes and when customers book sessions.
View the location schedule
Stay on the Events tab inside a location detail page to see a weekly calendar of every class session and private booking happening at that address.
You can drag and drop events to reschedule them. If the new time conflicts with another session, Bookjor will warn you before confirming the move.
Preview from the customer side
Open your public booking portal and check how locations and resources appear to customers. Make sure names are clear and the address is easy to find.
If something looks off, return to the admin panel, edit the location or resource, and refresh the portal to verify the change.