
Open the Services page
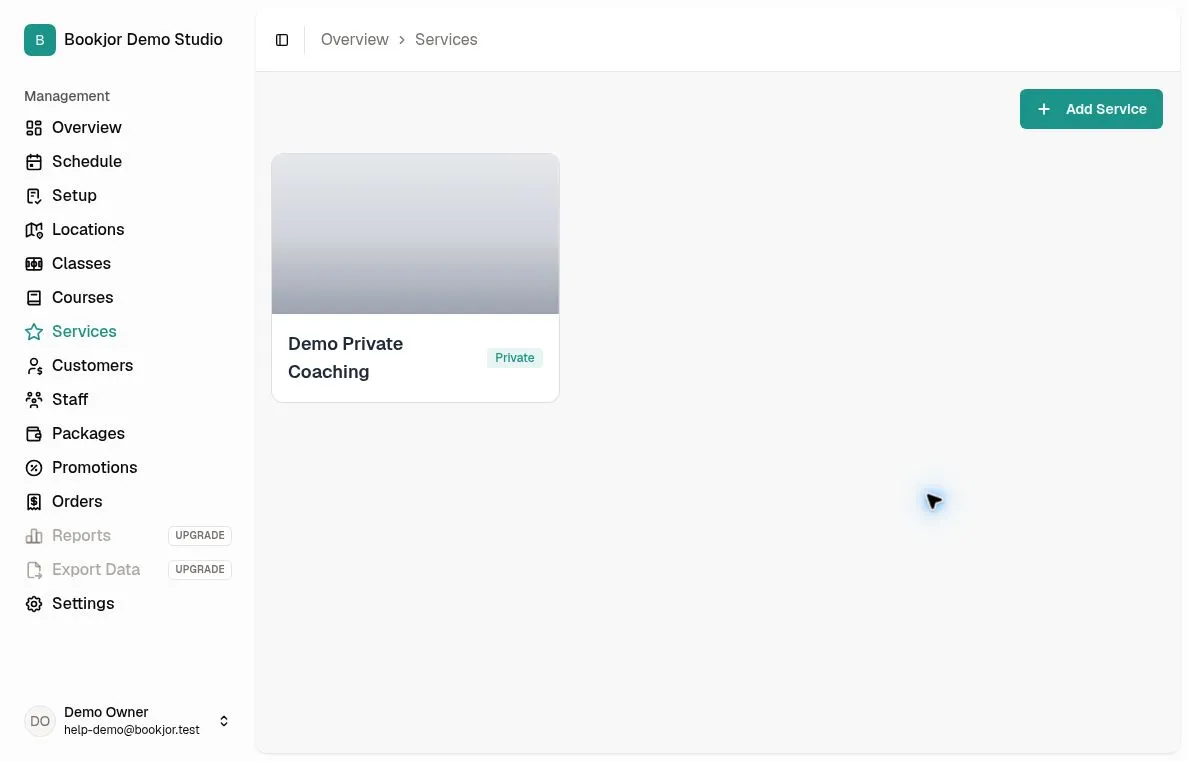
From your admin dashboard, click Services in the main sidebar. You will see a grid of service cards showing the service name, type, and thumbnail.
If you have not created any private services yet, the list will be empty.
Creating services, changing their details or cover image, and managing service options require the Manage services permission. Ask the owner to update your role if those controls are missing.
Add a new service
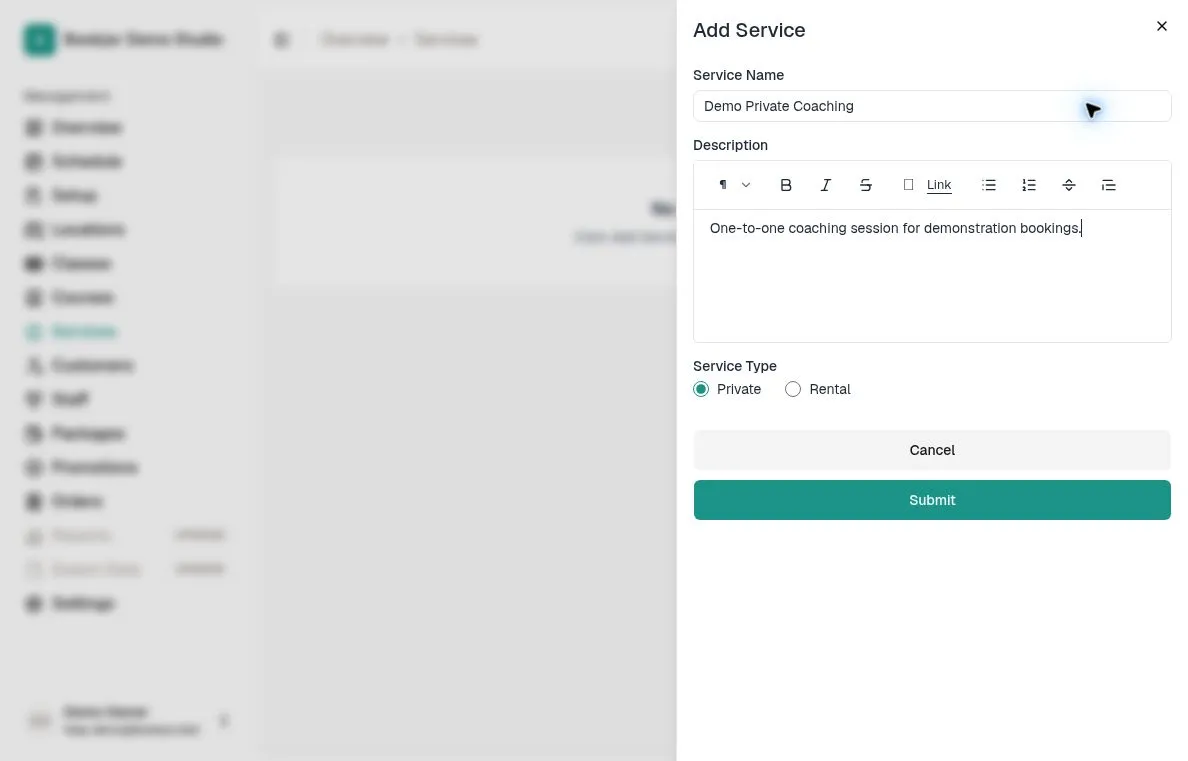
Click Add Service. Enter a name and description. Choose Private as the service type. Private services are booked by appointment, unlike classes which run on a fixed schedule.
Enter the name and description in the studio’s default language, then submit. The service type is chosen during creation and is not offered in the edit form. Use More Options > Edit Translation on the detail page for additional languages.
Upload a cover image
After the service is created, open its card from the Services list. Click the photo icon in the top-right of the detail-page header to upload a cover image. Use PNG, JPG/JPEG, WebP, or GIF up to 5 MiB.
The cover image appears on the customer booking portal alongside the service description.
Add service options
Open Service Options and add an option with a location, staff member, duration options, and at least one payment option.
Set the option’s weekly availability as well. Creating the service or assigning staff alone does not create bookable time slots.