Open the class detail page
Navigate to the Classes page and click the card of the class you want to add a session for. You are taken to the class detail page.
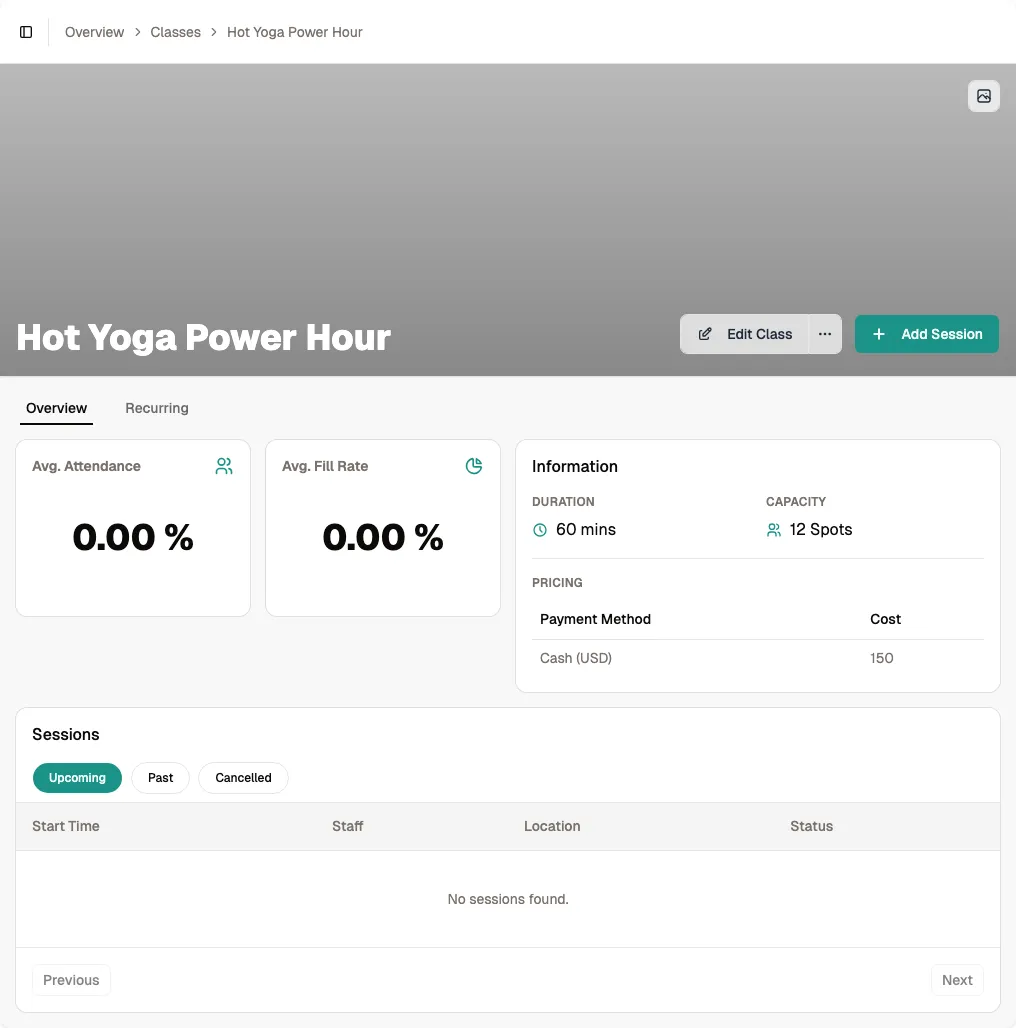
Make sure you are on the Overview tab.
Start adding a session
Click Add Session near the top-right of the page. A form panel slides open.
The Capacity and Duration fields are pre-filled with the class defaults. You can change them if this specific session needs a different limit or length.
Set the date and time
Use the Start date-time picker to choose when the session begins. The picker uses your local timezone.
The End Time is calculated automatically based on the duration. If you change the duration, the end time updates instantly.
Tip If a session runs longer or shorter than usual, adjust the duration field before saving. The class default stays unchanged.
Choose location, staff, and resources
Select a location from the dropdown. The resources list is filtered to show only rooms and spaces at that location.
Search and select one or more staff members who will teach the session. Then search and select the resources the session needs.
Tip Changing the location clears any previously selected resources, so pick the location first.
Save the session
Click Submit to create the session. It appears immediately in the session table on the Overview tab.
Customers can book the session as soon as it is created, provided the start time is within the booking window configured in your settings.