Open Settings > Payment
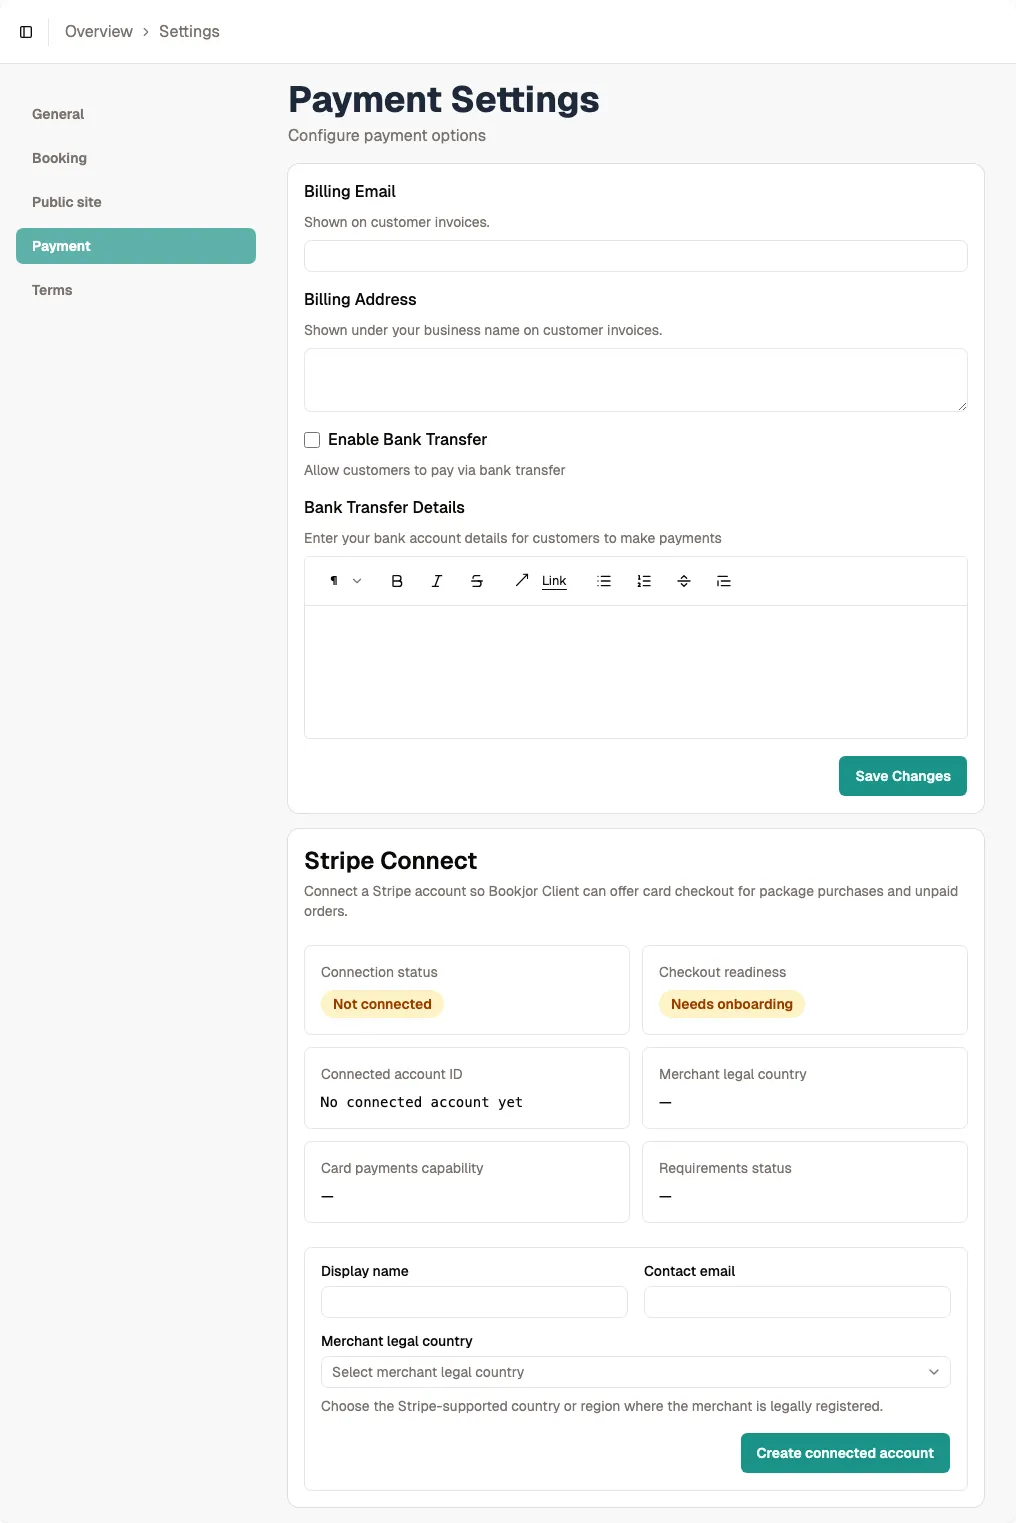
From your admin dashboard, click Settings in the sidebar and then select the Payment tab. This page has two sections: Bank Transfer and Stripe Connect.
You can use either payment method individually or both together. For example, you might accept card payments via Stripe while also offering bank transfer for corporate clients.
Enable bank transfers (optional)
If you want customers to pay by direct bank transfer, turn on the Bank Transfer toggle. A rich text editor will appear where you can enter your bank account details, transfer instructions, and any reference requirements.
These instructions are shown to customers during checkout when they choose the bank transfer option. Make sure to include your account name, bank name, sort code or routing number, and account number.
Tip Bank transfer payments are marked as pending until you manually confirm receipt in the Orders page.
Create your Stripe Connect account
In the Stripe Connect section, fill in the account creation form with your studio's display name, contact email address, and two-letter merchant country code. Common codes include US for the United States, CA for Canada, and GB for the United Kingdom.
Click Create Account. Bookjor will provision a Stripe Connect account linked to your studio. This account is separate from any personal Stripe account you may already have.
Tip The country code must match where your business is legally registered. Stripe will verify this during onboarding.
Complete Stripe onboarding
After creating the account, you will see a Complete Onboarding button. Click it to open Stripe's verification flow in a new browser tab. You will need to provide business details, bank account information for payouts, and identity verification documents.
Stripe Connect verification usually takes 1-2 business days, though some accounts are approved within minutes. You can return to Bookjor and refresh the Payment settings page to check your status.
Tip Start Stripe onboarding early. You cannot accept live card payments until Stripe approves your account.
Review your Stripe status indicators
Once connected, the Payment settings page shows several status cards: Connected, Checkout Ready, Account ID, Country, Card Payments, and Requirements. Green indicators mean that requirement is satisfied.
If any indicator shows incomplete, read the message carefully. Common outstanding requirements include verifying identity, adding a bank account for payouts, or confirming business details. Click Complete Onboarding again to address them.